The Ultimate Travel Blogging Gear Guide
Disclosure: This blog is reader-supported, and some posts contain affiliate links. If you make a booking, I may earn a small commission—at no extra cost to you. Thank you for keeping me writing and doing what I love!
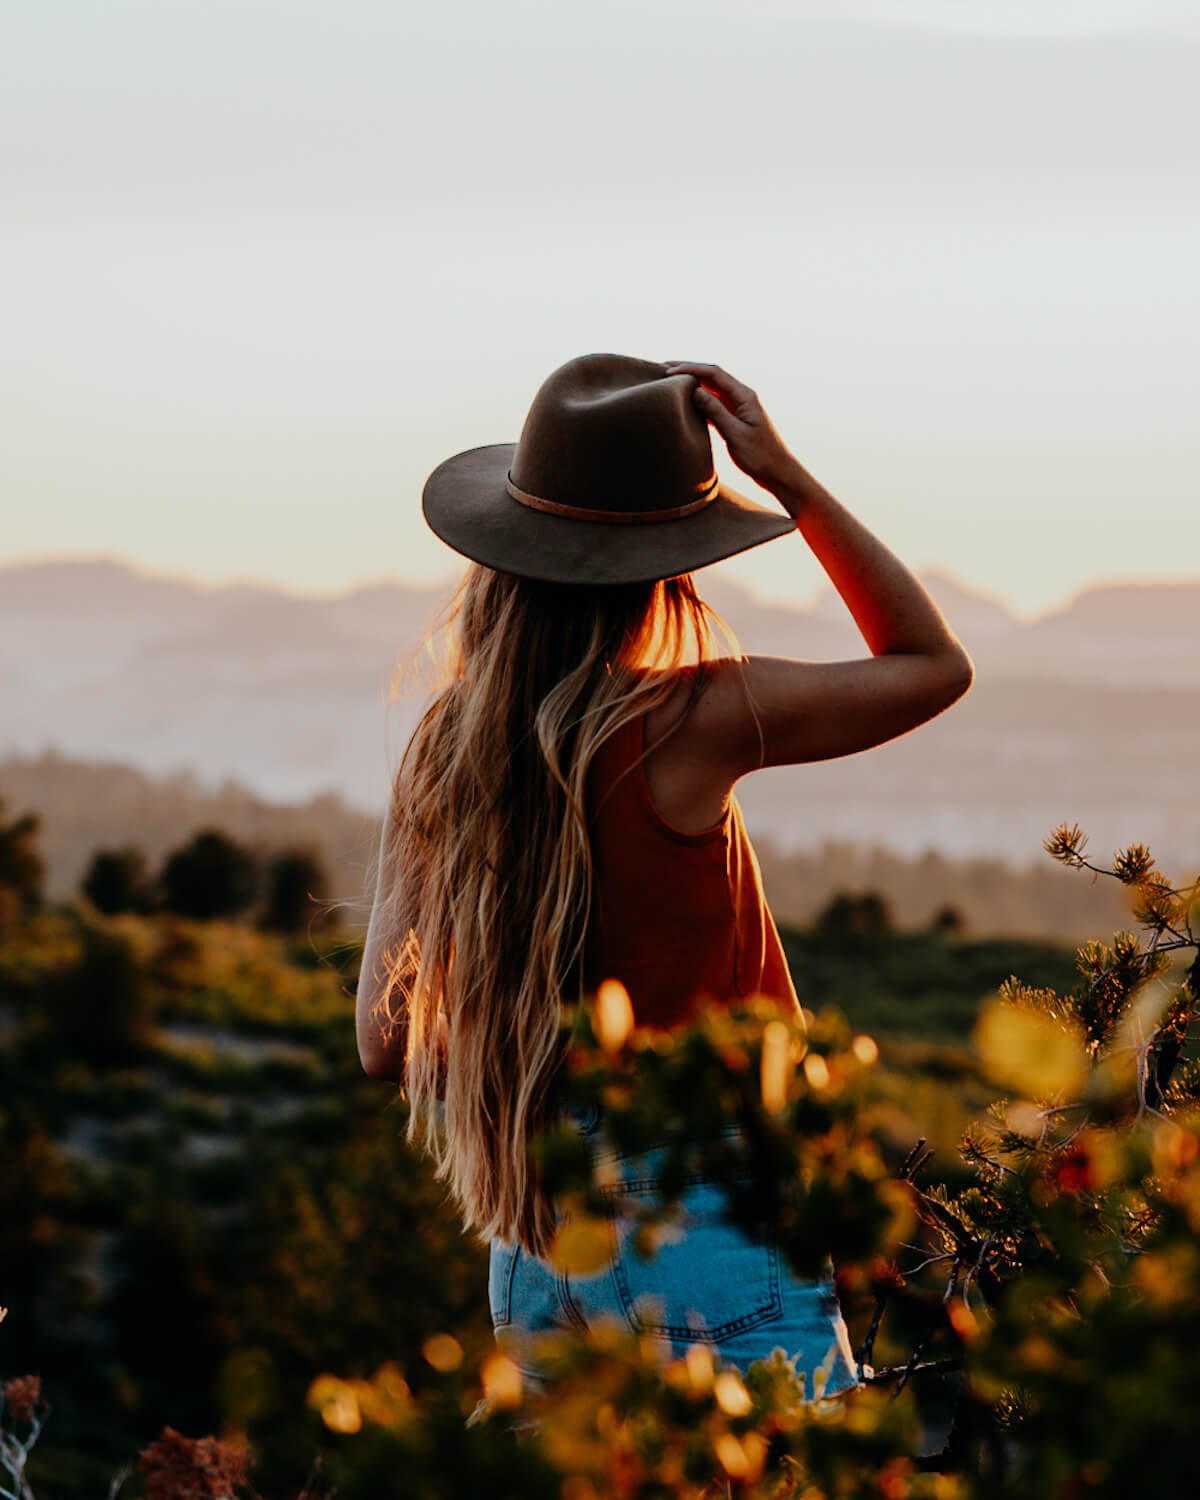
Whether you’re here because you’ve seen my Instagram and blog photos or because you’re starting your own travel or lifestyle blog, this post details the travel blogging gear that I’ve used since I started blogging many years ago.
I started blogging in 2013 when I studied in Lyon, France for a year and have been traveling and living abroad full-time ever since I moved to Kathmandu, Nepal in 2015. During that time, little did I know that I was going to pursue travel blogging as a career. Back then, I blogged for personal growth and used the process of writing as a form of therapy. But now that I blog professionally I have been constantly upgrading my travel blogging gear to continue to improve and hone in on my skills!
There are a few things that I know now that I WISH I would have known before I invested a huge chunk of my savings into my first camera (which was a Sony a6000) and a secondary lens.
Back then I had no idea about full-frame, crop sensors, and lens quality like I do now. That said, your travel photography journey will be unique to you. It will have highs and lows and steep learning curves. But that’s part of the fun, too! I personally enjoy learning more about travel blogging and photography.

This travel blogger gear guide is by no means what you HAVE to have, or what you even need to get started. It’s my hope that by sharing my raw experience (and mistakes and lessons) with you that you can save yourself heaps of time and money.
With that said, my travel camera gear today is by no means 100% complete. I am always on the hunt for improving my equipment and becoming a better travel blogger and photographer. But what I use now has really helped to scale my growth and take my photos and skills to a whole new level!
If you have any questions about the gear I use, feel free to drop your comments at the end of this post or shoot me an email.
Below is my complete travel blogging gear guide (including tips, photos, and comparisons).
Travel Blogging Gear List & Guide – What’s In My Camera Bag?

I am a minimalist in many areas of my life, including photography. I have everything I need to and nothing more. I don’t have extremely fancy set-ups or equipment. I just have what I have to start and that’s what’s REALLY important. My travel blogging gear is a reflection of this. Over time, I’ve learned what makes the process of creating, editing, and publishing easier for me.
Here is a quick list of all the gear I use, down to the micro SD card. Keep reading below for a breakdown of my tips, suggestions, and recommendations on each item.
Quick links:
- Sony a7II (full-frame camera body)
- Sony 24-105 mm F4 G OSS lens (super high-quality – bought separately)
- Google Chromebook (Macbook Pro recommended)
- DJI Osmo Action (action camera for underwater/hiking)
- Samsung Galaxy S9+ (phone pics, apps, & travel videos)
- Manfrotto compact action tripod (helpful for capturing couples photos & stable shots)
- HyperDrive 7-in-1 USB-C Hub (for connecting all my cable ports)
- 1 TB Seagate Mobile Drive (external memory for storing photos)
- ONN Rugged Portable Battery (back-up battery for emergency charging)
- Lenspen + microfiber cloths (for cleaning camera lens)
- SanDisk Extreme PRO 64GB (x2) (recommended for speedy writing/uploading)
- SanDisk 32GB + 4GB + microSD adapter
- Camera bag (any will do)
- REI recycled 40L backpack (for multi-day trips, moving, and hiking)
- Lightroom Mobile (for editing photos on my Chromebook and phone)
Travel Camera: Sony A7II Camera Body VS the Sony A6000


It wasn’t until this summer 2020 that I upgraded my Sony a6000 to the Sony a7ii. But why?
The Sony a6000 was already taking amazing pictures and it’s what I had been using for years. Well, I switched because I was limiting myself when it came to lens options. I will not get into the tech-specs of each. I will just share my experience with the two. The Sony a6000 was awesome, but for the longest time, I didn’t realize it was an APS-C model, meaning it had a crop-sensor. Simply put, I wasn’t getting “full-frame” as in what-you-see-is-what-you-get. My eye in nature was capturing a much fuller, larger image, and then my Sony would capture about 2/3 of that frame.
The Sony a7ii is a full-frame camera body, able to use an interchangeable full-frame lens, which is what I really wanted the upgrade for. Technically, I could’ve upgraded my lens on the Sony a6000 (which was the kit lens – great for newbies but not ideal for growing professionally) and still had better image quality. But I would’ve still been limited on the APS-C crop sensor, so I wouldn’t be making great use of an expensive lens if the image was still getting cropped on the body itself.
When the a7ii camera body dropped below the $1000 price point this summer, I snagged it. Even though the a7ii came out in late 2014, it’s still a powerful camera. I am not a full-time vlogger, so I didn’t need the robust and professional-quality a7iii which kinda focused on upgrades in the video department. Plus, the a7iii is twice the price as the a7ii for features I didn’t feel like I was going to make use of.
If you are just starting out in your travel blogging career, it is very worthwhile to do as much research as possible. Especially when it comes to the lens you buy, which leads me to my next point.
Best Travel Blogging Lens: Sony 24-105 mm f/4 G OSS

Lens quality, as many photographers will say, is even more important than the camera body. I’d have to agree. Nothing will “up” your game like a better-quality lens.
When I first bought my Sony a6000, I purchased it with the lens included (also known as a kit lens).
At first, I was satisfied with the quality. But then I wanted more crisp, sharper photos and a much better focal range than 16-50mm. So, without doing my due diligence, I saw the second Sony kit lens that ranged 55-210mm. When I saw that it went all the way up to 210mm, I thought, “Wow! I’m going to be able to have awesome zoom ability with much stronger images.” But that was wrong, too. I sacrificed on having a wide-angle lens which is what I really needed in most cases for my travel photography. The 16-50mm was great for micro/up-close and wide shots and the 55-210mm for longer shots. But, over time, I became frustrated that I wasn’t able to capture the shot I envisioned.
So this year, I bought the Sony a7ii camera body WITHOUT the kit lens, because I knew I wanted to invest a good chunk of money in a super high-quality lens. I researched the gear that my favorite travel bloggers used. I stuck with Sony because I love how light, fast, and innovative Sony is compared to Canon cameras which are bulkier and heavier. When it came to lens choice, I hesitated between the Zeiss 24-70mm lens which is a third-party lens manufacturer (cheapest), the Sony 24-70mm f/2.8 GM (most expensive), and the Sony 24-105mm f/4 G (the one I use now).

Sony a6000 55-210mm (left) VS Sony a7ii 24-105mm G f/4 (right)
Like with Canon, Sony has its own lens-ranking system. I learned that G simply means “superb clarity and sharpness that maximizes advanced imaging sensors and camera systems” and the GM means G Master or “Gold Master” which indicates that the lens was built for true professionals in the field. Essentially, the G implies excellent quality, and the GM is a step-up of that. As you can guess, GM is also twice the price.
So I settled with the 24-105mm G, which also allowed me to have a little extra depth with the 105mm instead of stopping at 70mm. Generally speaking, having “one lens, one purpose” means better quality images. The more you extend the focal lengths in one lens, the poorer the image quality may be on either end of the spectrum. Nevertheless, the 24-105mm stays sharp and clear from start to finish and came highly recommended by adventure travel photographers that inspire me.
If you are like me – a minimalist who is on the go and wants one lens that can kinda do it all – then I’d highly recommend the Sony 24-105mm f/4. It is a scary investment – I never thought I’d spend over $1k on just ONE lens, but hey – you gotta “risk it for the biscuit”, right?
Did you notice the difference between the quality in the two pictures above? Here is another example of how lens quality can really change a photo.


Chromebook VS Macbook Pro
You probably already have a Mac, but I have never had an Apple product. Ever. I often feel like I am the only travel blogger who doesn’t use a Mac! And for a while that made me feel super cool, but now it just makes me get behind. I don’t think a computer can limit you entirely if you really have the motivation to get sh*t done, as is in my case, but having a Chromebook really has limited me many, many times (and still does!).
Another reason to AVOID a Chromebook is that you don’t have access to Lightroom Desktop or any Adobe products or services. Instead, I rely on Lightroom Mobile, which, on a computer, is pretty frustrating and limiting to work with. It also syncs on wifi which has created several nightmares for me including one incident recently in which all 3,000+ photos were synced onto my external storage consequently deleting ALL of my photos to date. And don’t even get me started on video editing on a Chromebook, lol. I feel like I would’ve already made use of a vlog by now if it weren’t for my laptop these past few years. As soon as my funds replenish a bit, I will be 100% investing in a Macbook Pro.
DJI Osmo Action Camera
I have had my DJI Osmo Action for a few months now and I have only made a few videos with it so far. It’s definitely fun and useful for getting underwater shots. But I usually find it easier to shoot video with my phone for normal travel videos (stories/reels/TikTok), but the Osmo Action is awesome for recording landscape video and capturing wide-angle travel shots. I have yet to dive deeper than 12 m with it, so thus far I haven’t used it with its own waterproof housing. I also have been looking into getting a dome for those neat half-under half-above water shots.


Manfrotto Compact Tripod
I don’t take my tripod everywhere because most of the time Paul helps me take photos, but it does come in super handy when we both plan to be in the shot and when I’m shooting night scenes. Although I’m not good at it, I love practicing getting shots of the Milky Way and a tripod is a must for any astrophotography!
The Manfrotto Compact Action (not light) comes highly recommend among travel bloggers. It is my second tripod, the first was a Sunpak that I got from Best Buy. I hardly used it as my camera lens was too heavy for it. I got the Manfrotto at the same time as my new Sony a7ii and even though this camera is nearly twice as heavy as the a6000, it holds up extremely well. The compact action version extends to 61 inches and shortens to 17 inches. It fits perfectly on the side of my REI backpack.


Travel Blogging Camera Gear Accessories
The remainder of my travel blogging gear comes down to things like back-up batteries, USB-C hubs, memory cards, and handy tools for cleaning and storage. You certainly don’t need all of this to start. I really only got the bulk of it this year, after realizing that I didn’t have to struggle so hard to keep things backed-up or powered.
- HyperDrive 7-in-1 USB-C Hub
- 1 TB Seagate Hard Drive
- ONN Rugged Portable Battery
- Lenspen + microfiber cloths
- SanDisk Extreme PRO 64GB (x2)
- SanDisk 32GB + 4GB + microSD adapter
- Universal power adapter
If you have a Mac or Windows computer, you probably don’t need a 7-in-1 USB-C hub as I do. But this thing really comes in handy because I can basically charge and connect any device or memory card to my laptop. This saves me huge amounts of time.

External Hard Drive: The 1 TB Seagate hard drive is what has really helped me simplify the storing process for thousands of photos. It doesn’t matter which type you get. What’s important though is that you don’t wait so long like I did to get one. I’ve had one too many scares of losing all my photos. But now I can off-load my already used and edited photos onto my drive and keep my laptop storage from filling up completely.
Portable Battery: I picked up my rechargeable portable battery at Wal-Mart just before going on our 2-week Southwest road trip. Buying an extra Sony camera battery is not cheap. So I figured with a rechargeable device I can at least put it to better use. Now, not only do I have a back-up battery for recharging my camera, but also for my phone in case of emergencies. The ONN also works as a bright flashlight, which came in super handy on our hike back from Delicate Arch after the sun went down. You can find plenty of other choices for portable batteries online, like the Anker Powercore.
Memory Cards: I have two SanDisk Extreme Pro 64 GB cards. They also come in 128 GB if you plan to shoot lots of video-heavy content.
Lenspen: A cheap lens pen is a must for cleaning your camera lens without scratching or harming the fragile glass. I use a microfiber cloth to clean the body of my camera gear.
Travel Power Adapter (optional): Because we are globetrotting often, and because I use both European/North American plugs, I have to have a universal power adapter with me on almost all my trips.
Camera Bag & Travel Backpack


I use a small, over-the-shoulder camera bag similar to this one. Nothing fancy, but it’s just large enough to store my one camera body + one lens, which is all I need. When I am out hiking I usually take along this mini bag plus a day bag for carrying water and other gear that doesn’t fit inside my camera bag.
As for my travel backpack, I use the REI 40L Ruckpack which is 100% recycled. It was a birthday gift from my better half and I couldn’t be happier with it. I always travel rather light, so the 40L is the perfect size for me and isn’t too large. It fits in the overhead cabin on the plane (so I save both on time and on checked luggage fees). I could easily take it on a multi-day camping trip, pack it full for moving abroad, or even take it into the city as a digital nomad on my way to a cafe.
So there you have it! That’s my entire travel blogging camera list summed up. I hope this guide is helpful for you when you are first starting out or are looking to upgrade your camera gear in the future. I still have a huge wishlist when it comes to the travel camera gear I’d like to have. One day I hope to get a DJI Mavic Air 2 drone, a Sony GM 16-35mm lens for better wide-angle landscape and travel shots, and of course a Macbook Pro. When I upgrade my phone, I’ll probably go to the dark side and get an iPhone as well haha. 🙂
What about you? What travel blogging camera gear do you use or would you ideally like to have? Feel free to reach out with your thoughts and questions in the comments below!
Save this travel blogging gear list to Pinterest!


Nice to see you completing your guides. I enjoy reading them.
Appreciate you, Steve! I always enjoy reading your thoughts & comments!